Understanding Screens And Screen Templates In PowerApps
Introduction
In previous articles such as,
- Creating Your First PowerApps Application
- Understanding PowerApps Web Studio
- Customizing SharePoint Online List Form Using PowerApps
- Create PowerApps from SharePoint Online List
We have already got an idea on how to get started with PowerApps and how to work with it. Now we will start learning the basic components or we can say basic controls of the PowerApps to which we will be interacting in our day to days development activities related to PowerApps.
There are a lot of controls available in PowerApps such as Screens, Input Controls, Media, Icons, Properties, Navigation, Themes, etc. Let’s start with Screens in this article.
Screens in PowerApps
As soon as you create your PowerApps canvas application, whether you are creating a blank canvas app or you are creating your PowerApps with some existing data sources such as SharePoint, Excel, SQL, etc., you will see at least one screen by default created by PowerApps and that will be your landing page for the PowerApps. A website has a page in it, without pages, website does not exist, in a similar way, without screen, PowerApps does not exists. As a website can have a single page or multiple pages, similarly, PowerApps can have a single screen or multiple screens.
Like we are navigating between pages on a website, in PowerApps also we can navigate between screens and move forward and backward or jump to a specific screen directly.
Just like, webpages have names, screens in PowerApps also have names and we can always customize them accordingly.
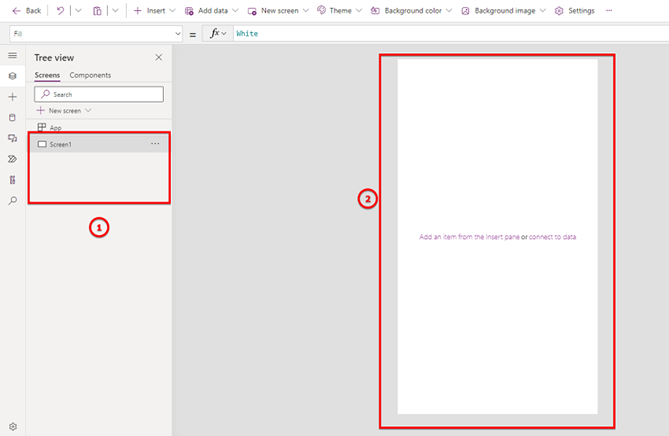
- Here a list of all screens in the current canvas application will be listed with the names
- This is the screen
So now, you got an idea about what is screen. Now let’s understand how many types of screens are available in PowerApps with their usage.
Templates available in Screens
If you try to create a new screen and click on “Templates” section, you will see there are a lot of templates available for us to choose such as Blank, Scrollable, List, Form, etc.
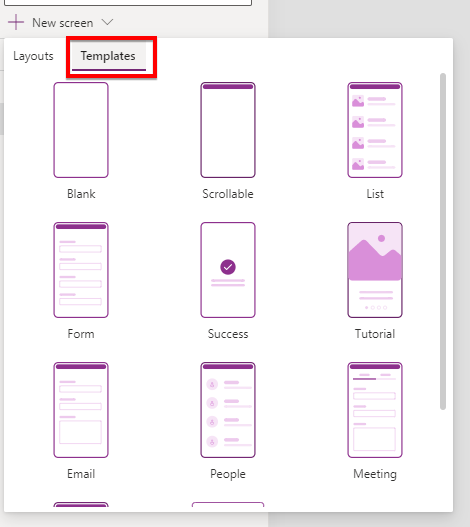
Let’s understand what these templates are and when to choose which templates.
Blank
As the name suggests, it will be a blank screen, it won’t have any controls within it. We can add controls as per our needs and imaginations. This is helpful when we have our own custom design in our mind or in the requirement, and we need to get started from scratch. In most cases, this will be the option for PowerApps developers. This screen will be a fixed height screen. In this, you have to adjust your controls to the given screen height and width. This does not give the facility of scrolling.
So, what to do if we have a lot of controls to be added to the screen vertically? For that, we have a scrollable screen type. Let’s see that.
Scrollable
As discussed, when we have a lot of controls to be added vertically, we have to choose scrollable screen template types to create the screen. Once you add this screen type, it will have a canvas (Fluid Grid) in it. And we can add as many data cards, and all those data cards will be aligned vertically, and we will have an infinite scroll. So, using this we can have a long vertical scrollable form or screen.
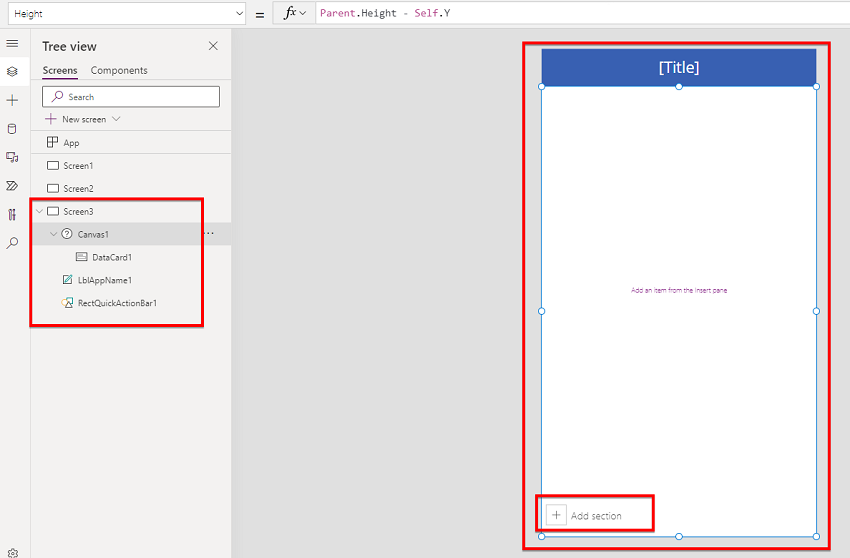
This is how scrollable screen looks likes.
List
This screen template comes with a lot of controls already added. As the name suggests, this screen template can be used if you need to display a list of some items and perform some basic operations such as Search, Sort, Refresh, etc.
When we create a canvas app using SharePoint Online list, by default it uses List template of the screen to display the list item with Sort, Search and reload functionality. This screen comes equipped with Gallery controls. And this gallery controls uses the template Image, Title, and Description. We will see more details on Gallery and its templates in upcoming articles.
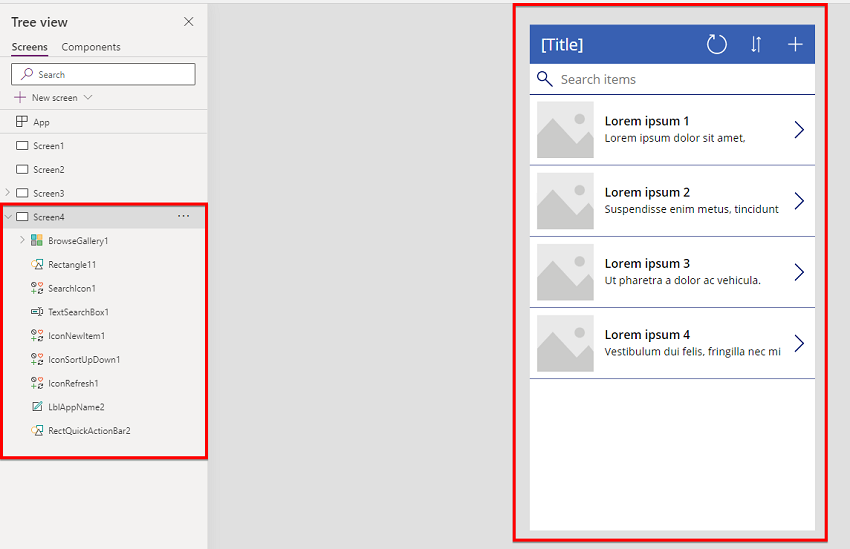
What we have to do here is, we just need to assign a data source to the gallery and bind the required columns and it will start displaying the data in the gallery and you can perform your search and sort or refresh operation.
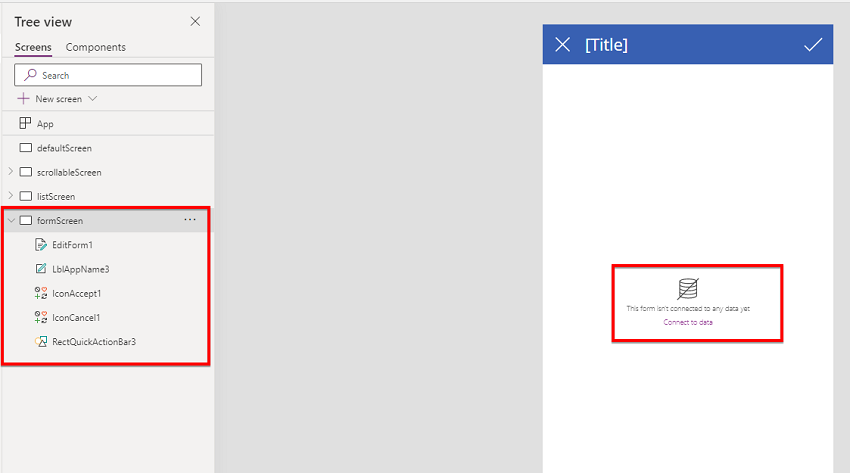
Form
This screen comes equipped with Form control. Using Form control we can connect to any data source and perform Add/Edit operation on data. Here also, you just need to assign the data source such as SharePoint Online list, and it will start performing Add or Edit operation on data based on the configuration.
Success
This screen can be used to display any success message. For example, you are performing some email sent operation or you are adding items to the list, so once the items are added or email is sent, you want your user can see the operation completion message, then, in that case, you can create a screen using this template.
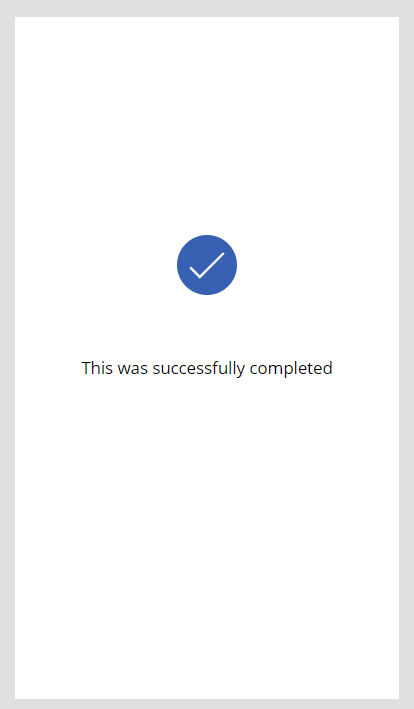
This screen comes with an icon and a success message. And this message can be changed by using the property window.
Tutorial
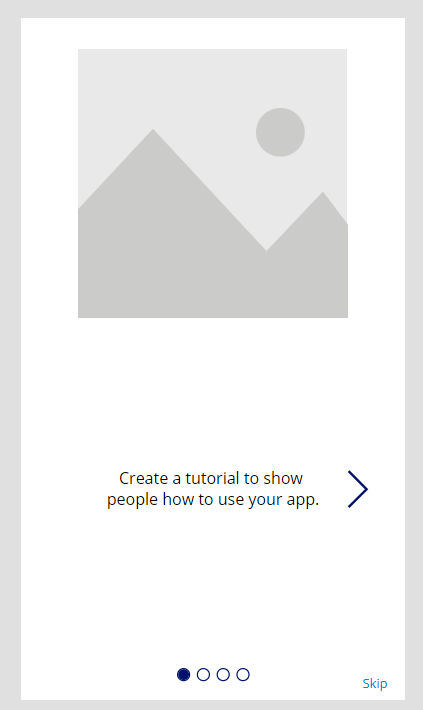
This screen template can be used when you are creating any small tutorial or user guide for the PowerApps for the first-time app user. This contains an Image and related text that can be navigated.
As the name suggests, this screen is designed to send an email to users with a message. Here we can add users to whom we have to send an email, Subject, and Email body and we can send an email to the user. This is a fully functional email sending screen. For example, let’s try to send an email using this screen.
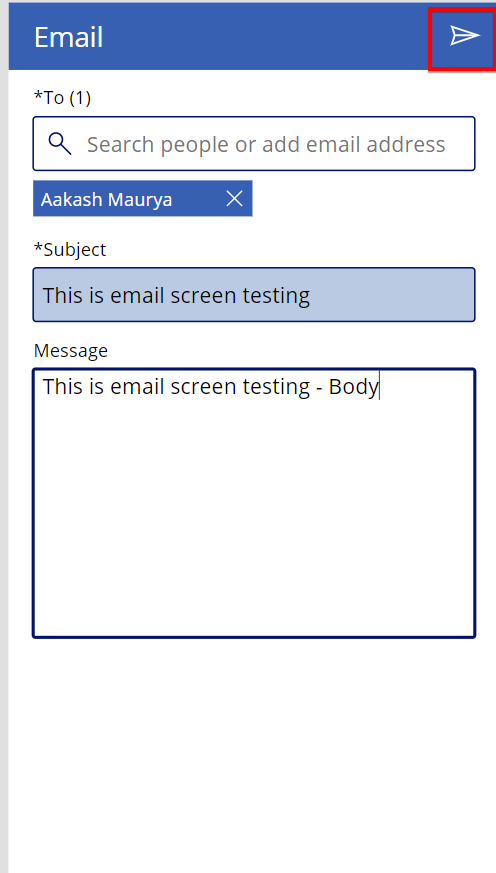
Now once “Send” icon is clicked from the top right corner, it actually sends an email to given user.
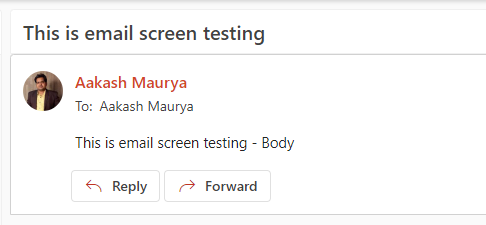
So, if you need to send an email, you can directly use this screen template to add to the PowerApps.
People
This screen template comes equipped with the functionality of displaying your organization’s users. You can search the users by their names.
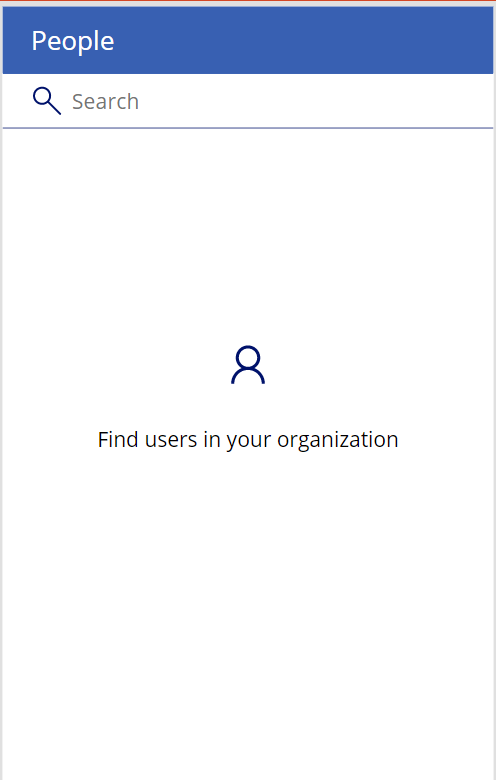
Like here we have searched the user with the first name, and it is displaying the search result.
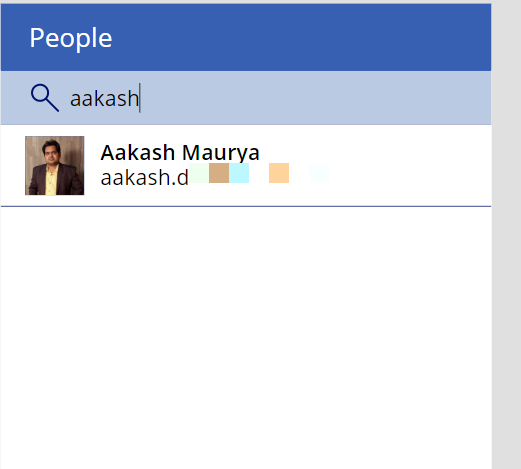
This template can be very much useful in case you need to build your employee directory solution.
Meeting
If you are looking to develop a canvas app to schedule a meeting with your colleague, then you do not have to create it from scratch. Using this template you can schedule a meeting, and invite any user to the meeting.
First you have to enter the names of the attendees, write a subject, meeting description, then click on “Schedule” option and from there you can select the date and the time for the meeting and simply click on “Send” icon from the top right corner.
For example,
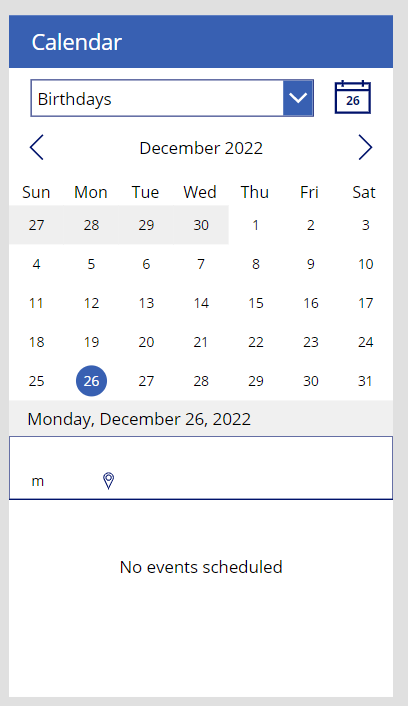
Let’s check my calendar for 3rd January 2023

It is empty. Now let’s try to schedule a meeting for the same day. First step is to invite the attendee using the invite tab on the screen.
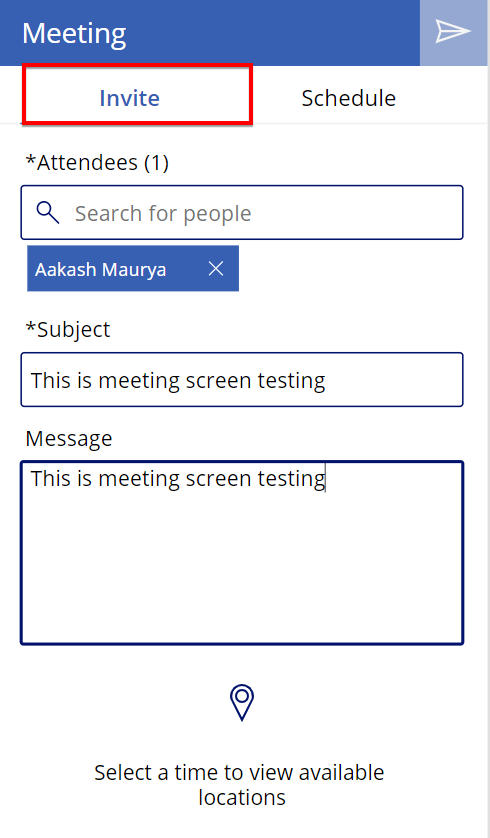
Now let’s select the date and time for the meeting using “Schedule” tab.
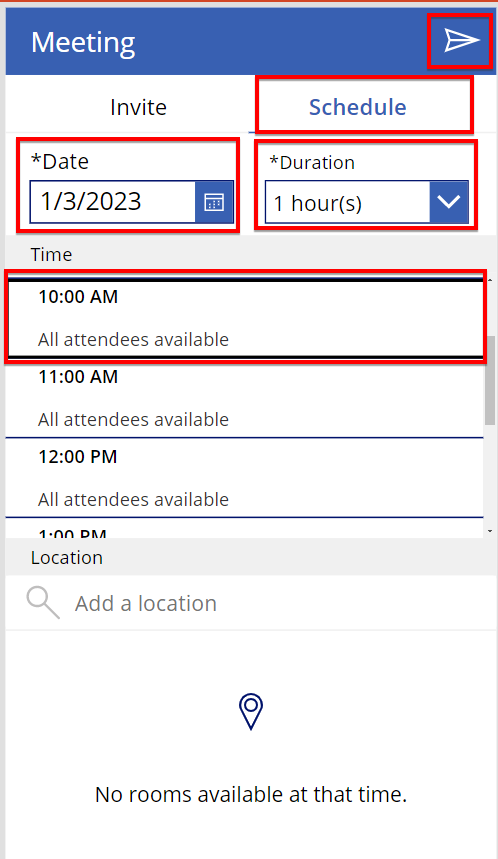
So here you can see that, I have selected 3rd January 2023, duration 1 hours, meeting start time at 10 AM. When we click on “Send” icon from top right corner, it actually creates a meeting in outlook. Let’s see my calendar again for 3rd January 2023 after pressing the send icon
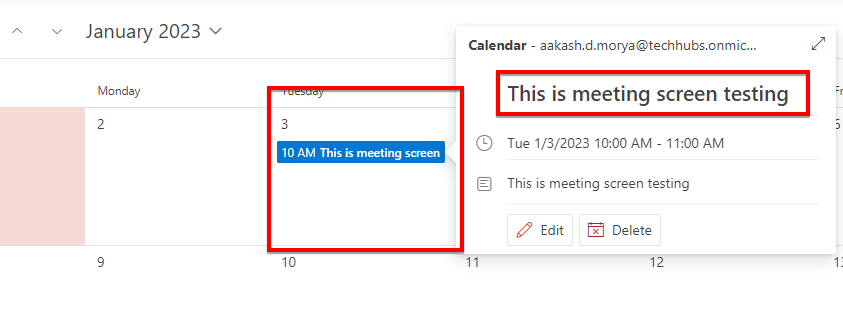
My calendar got a meeting created for 3rd January 2023.
If you need to build this kind of application, you can directly use this Meeting screen template type.
Calendar
This is a very important screen according to me. If you need to build a custom calendar in PowerApps, it may take a lot of expertise and hours in building the calendar display in PowerApps canvas application. But using this Calendar template, you can get this done in a fraction of a second. Because this Calendar template is equipped with calendar control built using multiple Gallery controls.
This calendar binds your outlook calendar events too. For example, we just created event for 3rd January 2023. So, if we navigate to 3rd January 2023 on this calendar, it will display my events on that day.
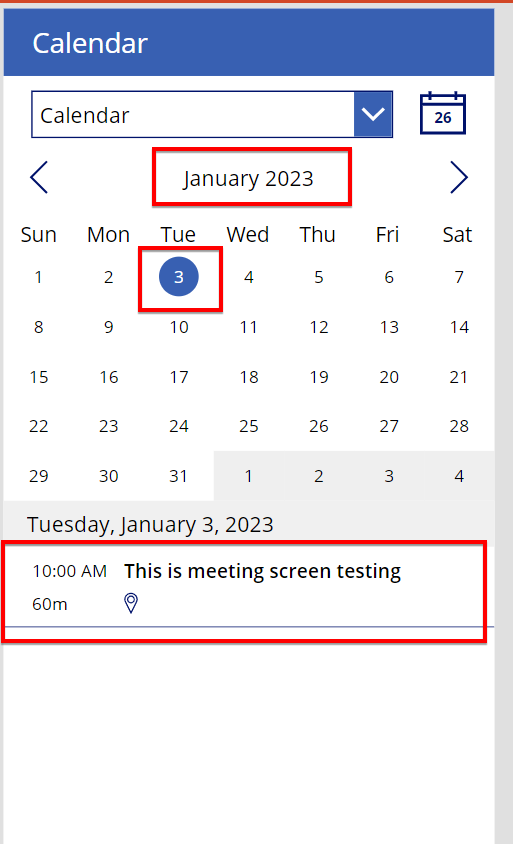
Here you can see my meeting created using Meeting screen template displayed in Calendar screen templates.
Portrait Print & Landscape Print
These are the last 2 templates in the PowerApps screen template gallery. These screen templates are equipped with Print functionality. If you need to print anything, then in that case you can use these screen templates and place your controls accordingly. You can define the look and feel of your actual print on these screens.
Summary
In this article, we have seen all the available screen templates with PowerApps with their detailed functionality and use cases of when to use which screen templates. In the future, Microsoft may add or remove screen templates. If you have any question or feedback on this, please do let me know in comment section.
